Use this file to discover all available pages before exploring further.
This guide walks you through setting up and using Laminar for Analytics in OpenHands Enterprise.
You’ll opt into Analytics and configure conversations to automatically send traces to Laminar.
This guide is for users who want to explore analytics on their OpenHands Enterprise conversations.It covers both supported install paths:
Replicated (VM install) — if you followed the Quick Start and
manage OpenHands through the Replicated Admin Console.
Helm (Kubernetes install) — if you deployed the openhands Helm chart into your own
Kubernetes cluster (see Kubernetes Installation).
Most of the workflow (creating a Laminar project, creating an API key, viewing traces) is
the same on both paths. The two install-specific steps are tabbed below.
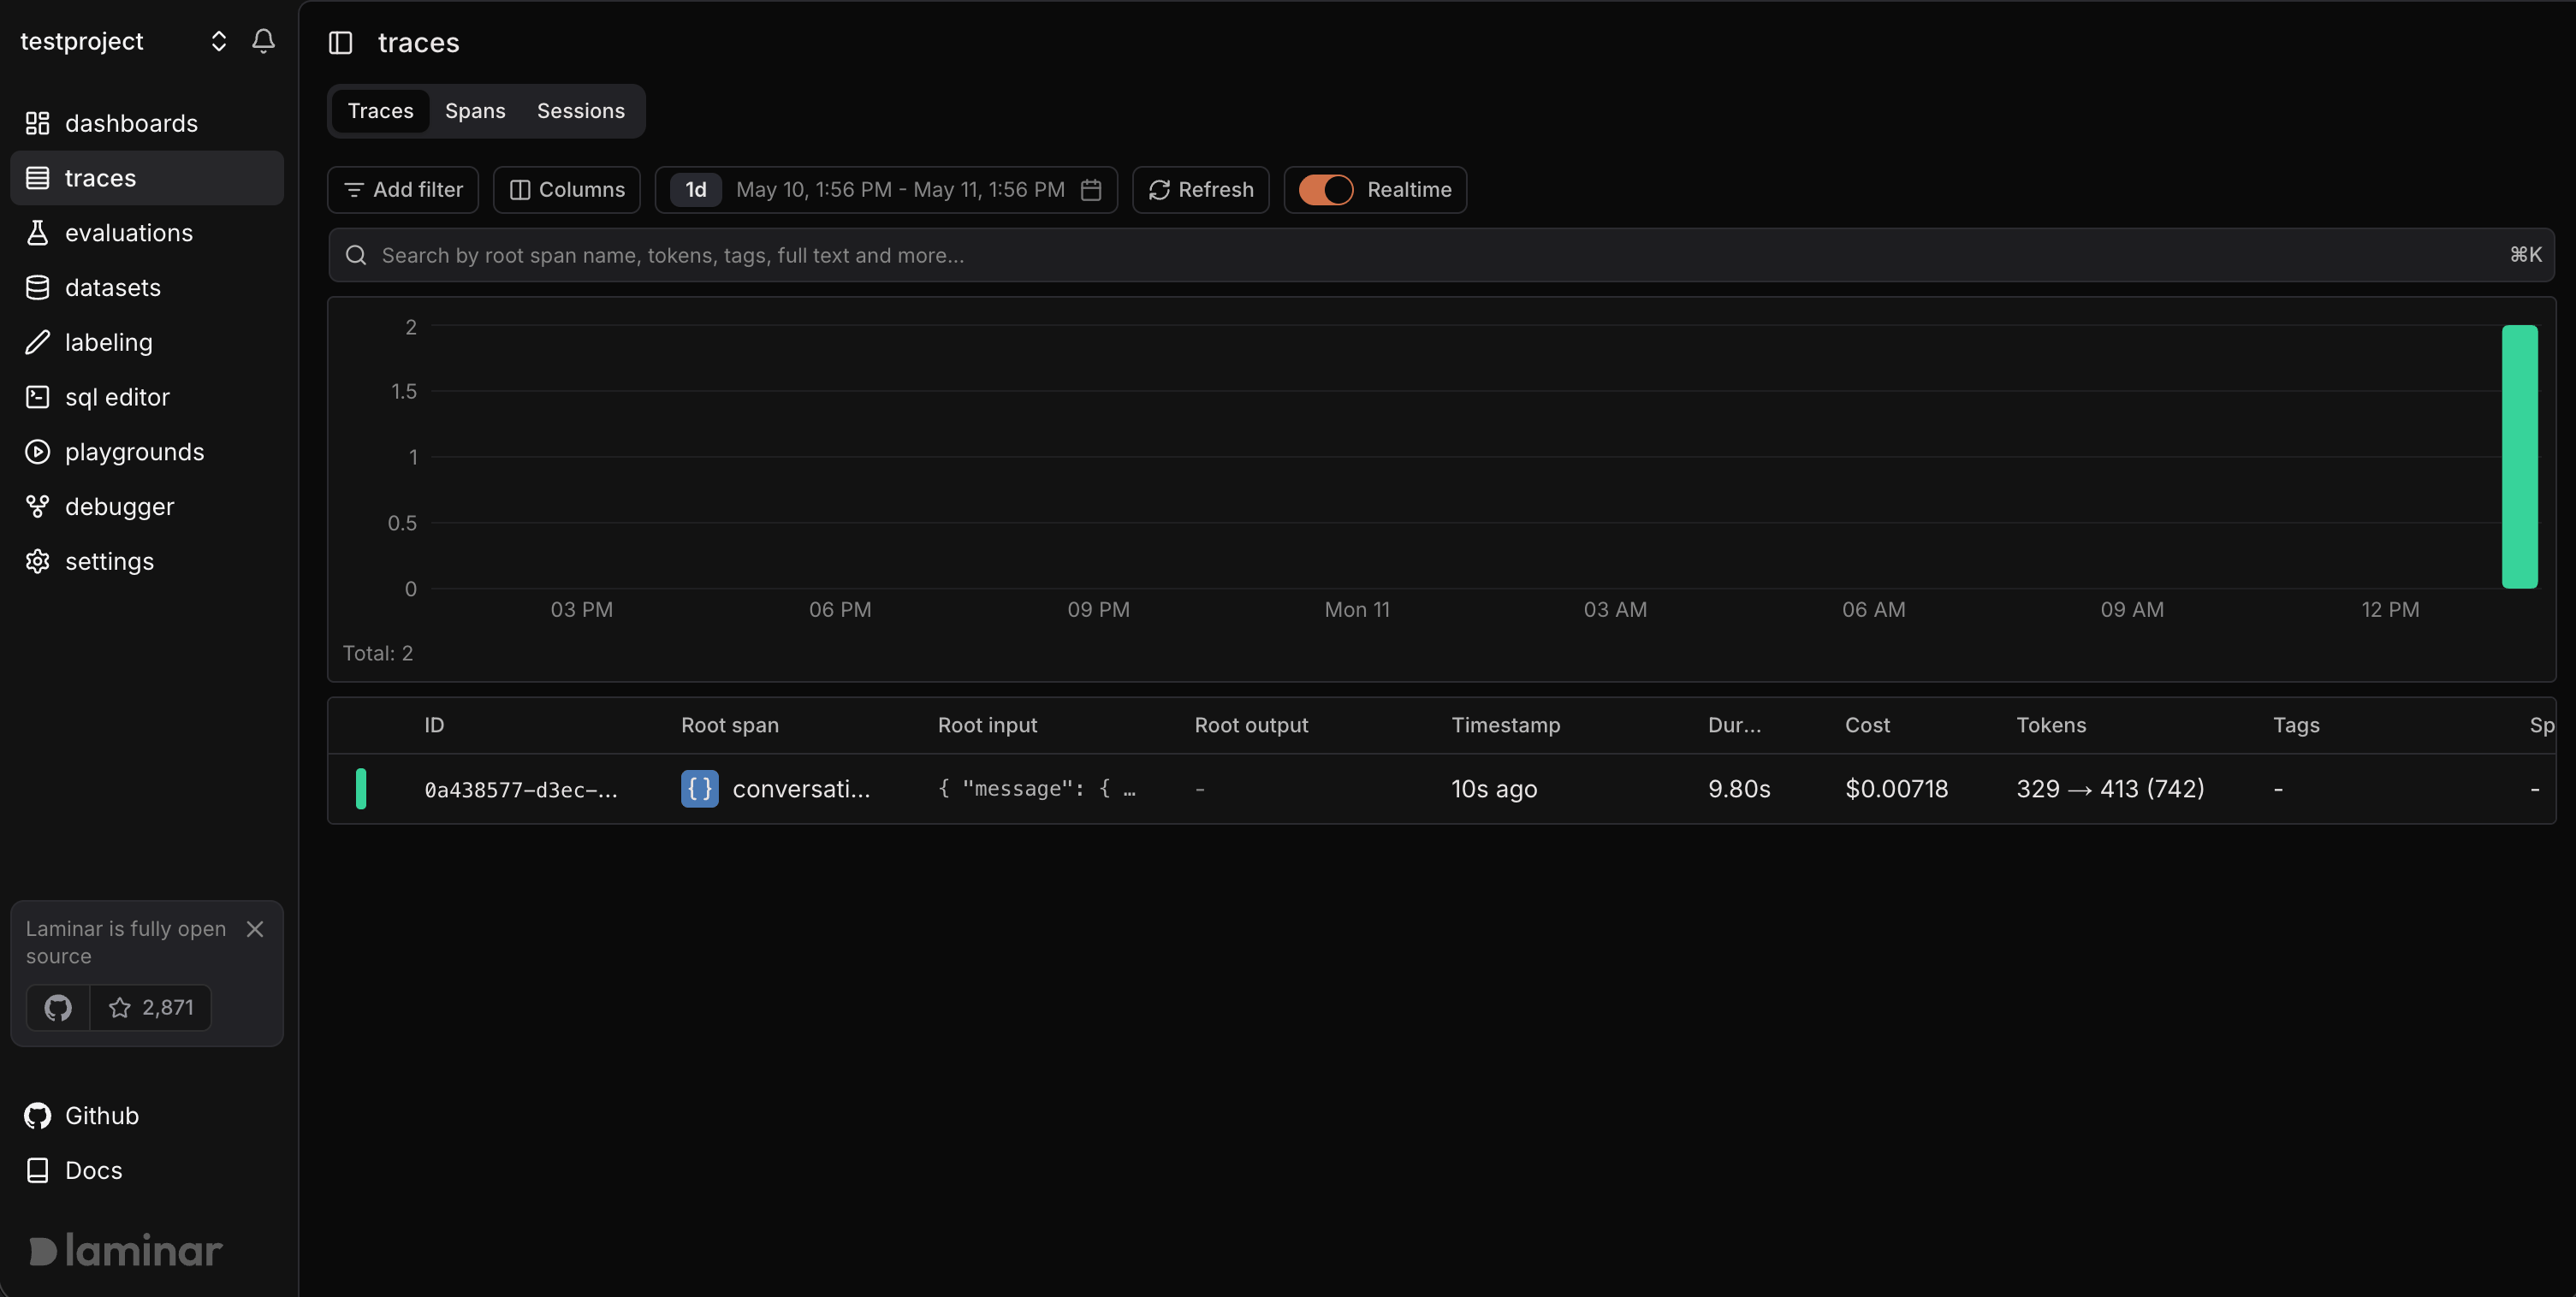
Laminar is an open source observability platform for AI agents like OpenHands.Use Laminar to view your conversation traces including prompts, tool calls, and answers. A trace is a record of what your agent did.Laminar can help you see where the agent went wrong. From traces, you can create signals. A signal is a natural language instruction to extract structured data from traces. Use signals to analyze recurring behavior across traces. You can then create better situations for prompting and measure them in Laminar. You can also analyze and improve your skills.For example, you can view all conversation traces related to a specific skill.Laminar can help you answer the following questions:
On a trace, did the agent do a good job using the skill?
DNS records (and a TLS certificate covering the SAN) for analytics.app.<your-base-domain>.
On Replicated, this is included in the Quick Start DNS table.
On Helm, you choose the hostname yourself in site-values.yaml.
An ingress controller already running in the cluster (Replicated installs ship Traefik; Helm
installs typically use Traefik as well — see the chart README).
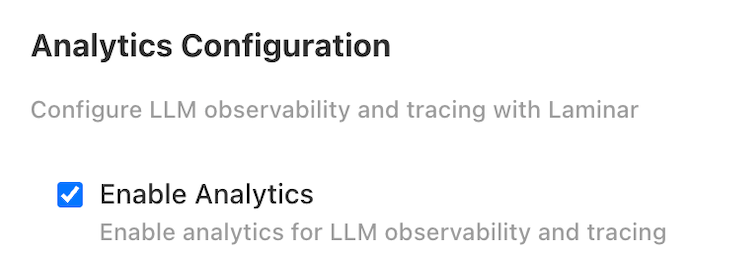
On the application configuration page in the Admin Console, find the
Analytics Configuration section.Check the Enable Analytics box. The installer will set up Laminar and template the
required hostnames and Keycloak wiring for you.
Add the laminar block to your site-values.yaml and set the top-level env.LMNR_*
keys so the application sends traces to Laminar.This guide assumes a single-cluster install where OpenHands runtimes and Laminar run
in the same Kubernetes cluster. Traces are sent to the in-cluster Laminar Service,
so you only need one new DNS record and TLS SAN — the user-facing Laminar UI
hostname (e.g. analytics.app.<your-base-domain>).Replace example.com with your base domain, and replace traefik with the name of
your ingress controller’s IngressClass.
# site-values.yamlenv: # The application sends traces to the in-cluster Laminar Service. No external # hostname is required for ingestion. LMNR_BASE_URL: "http://laminar-app-server-service" LMNR_FORCE_HTTP: "true" LMNR_HTTP_PORT: "8000" # LMNR_PROJECT_API_KEY is set in a later step, after you create an ingest-only key # in the Laminar UI.laminar: enabled: true global: # Sets provider-specific defaults; not auto-detected. Use "gcp" or "aws". cloudProvider: "gcp" frontend: ingress: enabled: true hostname: "analytics.app.example.com" # REQUIRED -- the Laminar UI hostname className: "traefik" # your ingress controller's IngressClass externalDns: enabled: false # true if external-dns manages your DNS tls: enabled: true clusterIssuer: "" # see TLS options below secretName: "laminar-frontend-tls" env: # Must match laminar.frontend.ingress.hostname above. nextauthUrl: "https://analytics.app.example.com" nextPublicUrl: "https://analytics.app.example.com" extraEnv: # Wires the Laminar UI to your existing Keycloak realm so users can sign in # with the same identity provider they use for OpenHands. - name: AUTH_KEYCLOAK_ID valueFrom: secretKeyRef: name: keycloak-realm key: client-id - name: AUTH_KEYCLOAK_SECRET valueFrom: secretKeyRef: name: keycloak-realm key: client-secret - name: AUTH_KEYCLOAK_ISSUER value: "https://auth.app.example.com/realms/allhands"
The laminar.frontend.ingress.tls block above works with either pattern:
Pre-existing TLS secret (recommended if your DNS and certs are managed externally):
leave clusterIssuer: "" and create the secret yourself. Concatenate the certificate
and CA bundle into a full chain first:
cert-manager with Let’s Encrypt: set clusterIssuer: "letsencrypt" (or the name
of any other ClusterIssuer in your cluster). The hostname must be publicly
DNS-resolvable so Let’s Encrypt can complete the HTTP-01 challenge.
Advanced: expose the app-server externally (multi-cluster only)
Skip this section unless OpenHands runtimes will be sending traces from outside
the cluster where Laminar runs. Almost all installs are single-cluster and should
use the in-cluster ingest configuration above.For multi-cluster setups, expose the Laminar app-server through your ingress (or, on
AWS, an L4 Network Load Balancer) and point LMNR_BASE_URL at the external hostname.
This adds a second DNS record and TLS SAN (e.g. laminar-api.app.<your-base-domain>).
# site-values.yamlenv: LMNR_BASE_URL: "https://laminar-api.app.example.com" LMNR_FORCE_HTTP: "true" # Omit LMNR_HTTP_PORT -- the port comes from the URL.laminar: appServer: ingress: hostname: "laminar-api.app.example.com" className: "traefik" externalDns: enabled: false tls: enabled: true clusterIssuer: "" secretName: "laminar-app-server-tls"
AWS clusters can swap laminar.appServer.ingress for an L4 Network Load Balancer:
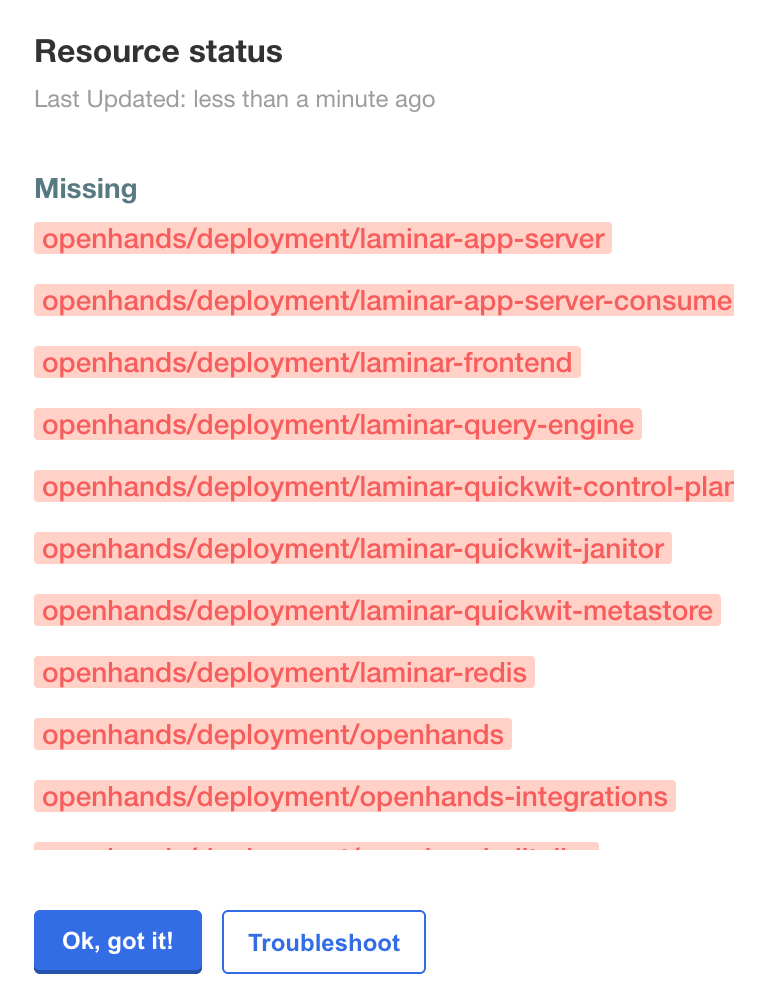
OpenHands will begin deploying. You can expect the deployment status to transition from
Missing to Unavailable to Ready. This typically takes 10-15 minutes.Click Details next to the deployment status to monitor individual resources. Resources
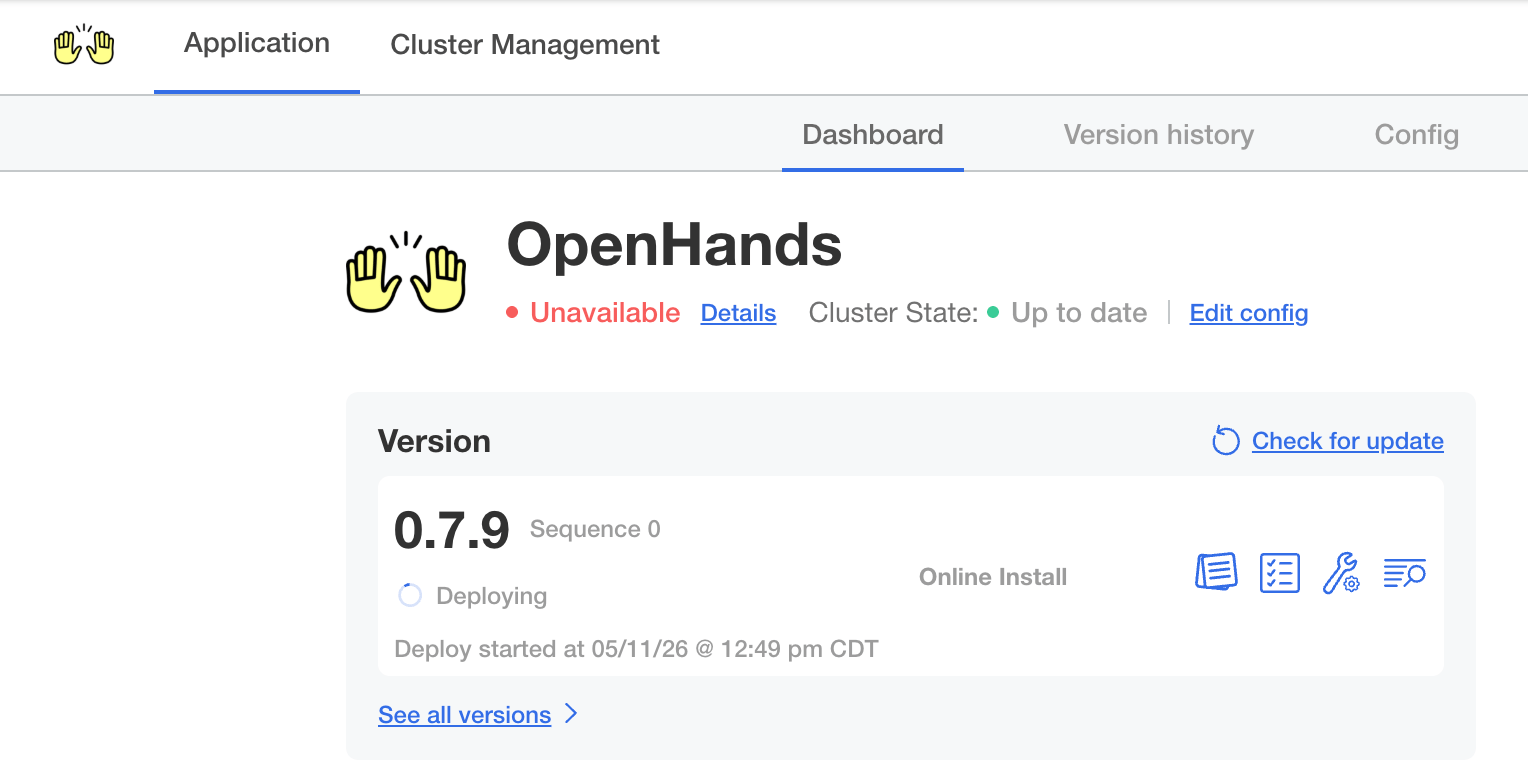
shown in orange are still deploying — wait until all resources are ready.
Watch the Laminar pods come up in your cluster:
kubectl get pods -n openhands -l app.kubernetes.io/instance=openhands -w
You should see pods for laminar-frontend, laminar-app-server, laminar-clickhouse,
laminar-postgres, laminar-rabbitmq, laminar-redis, and the Quickwit components.
Wait until all pods are Running and ready before continuing.
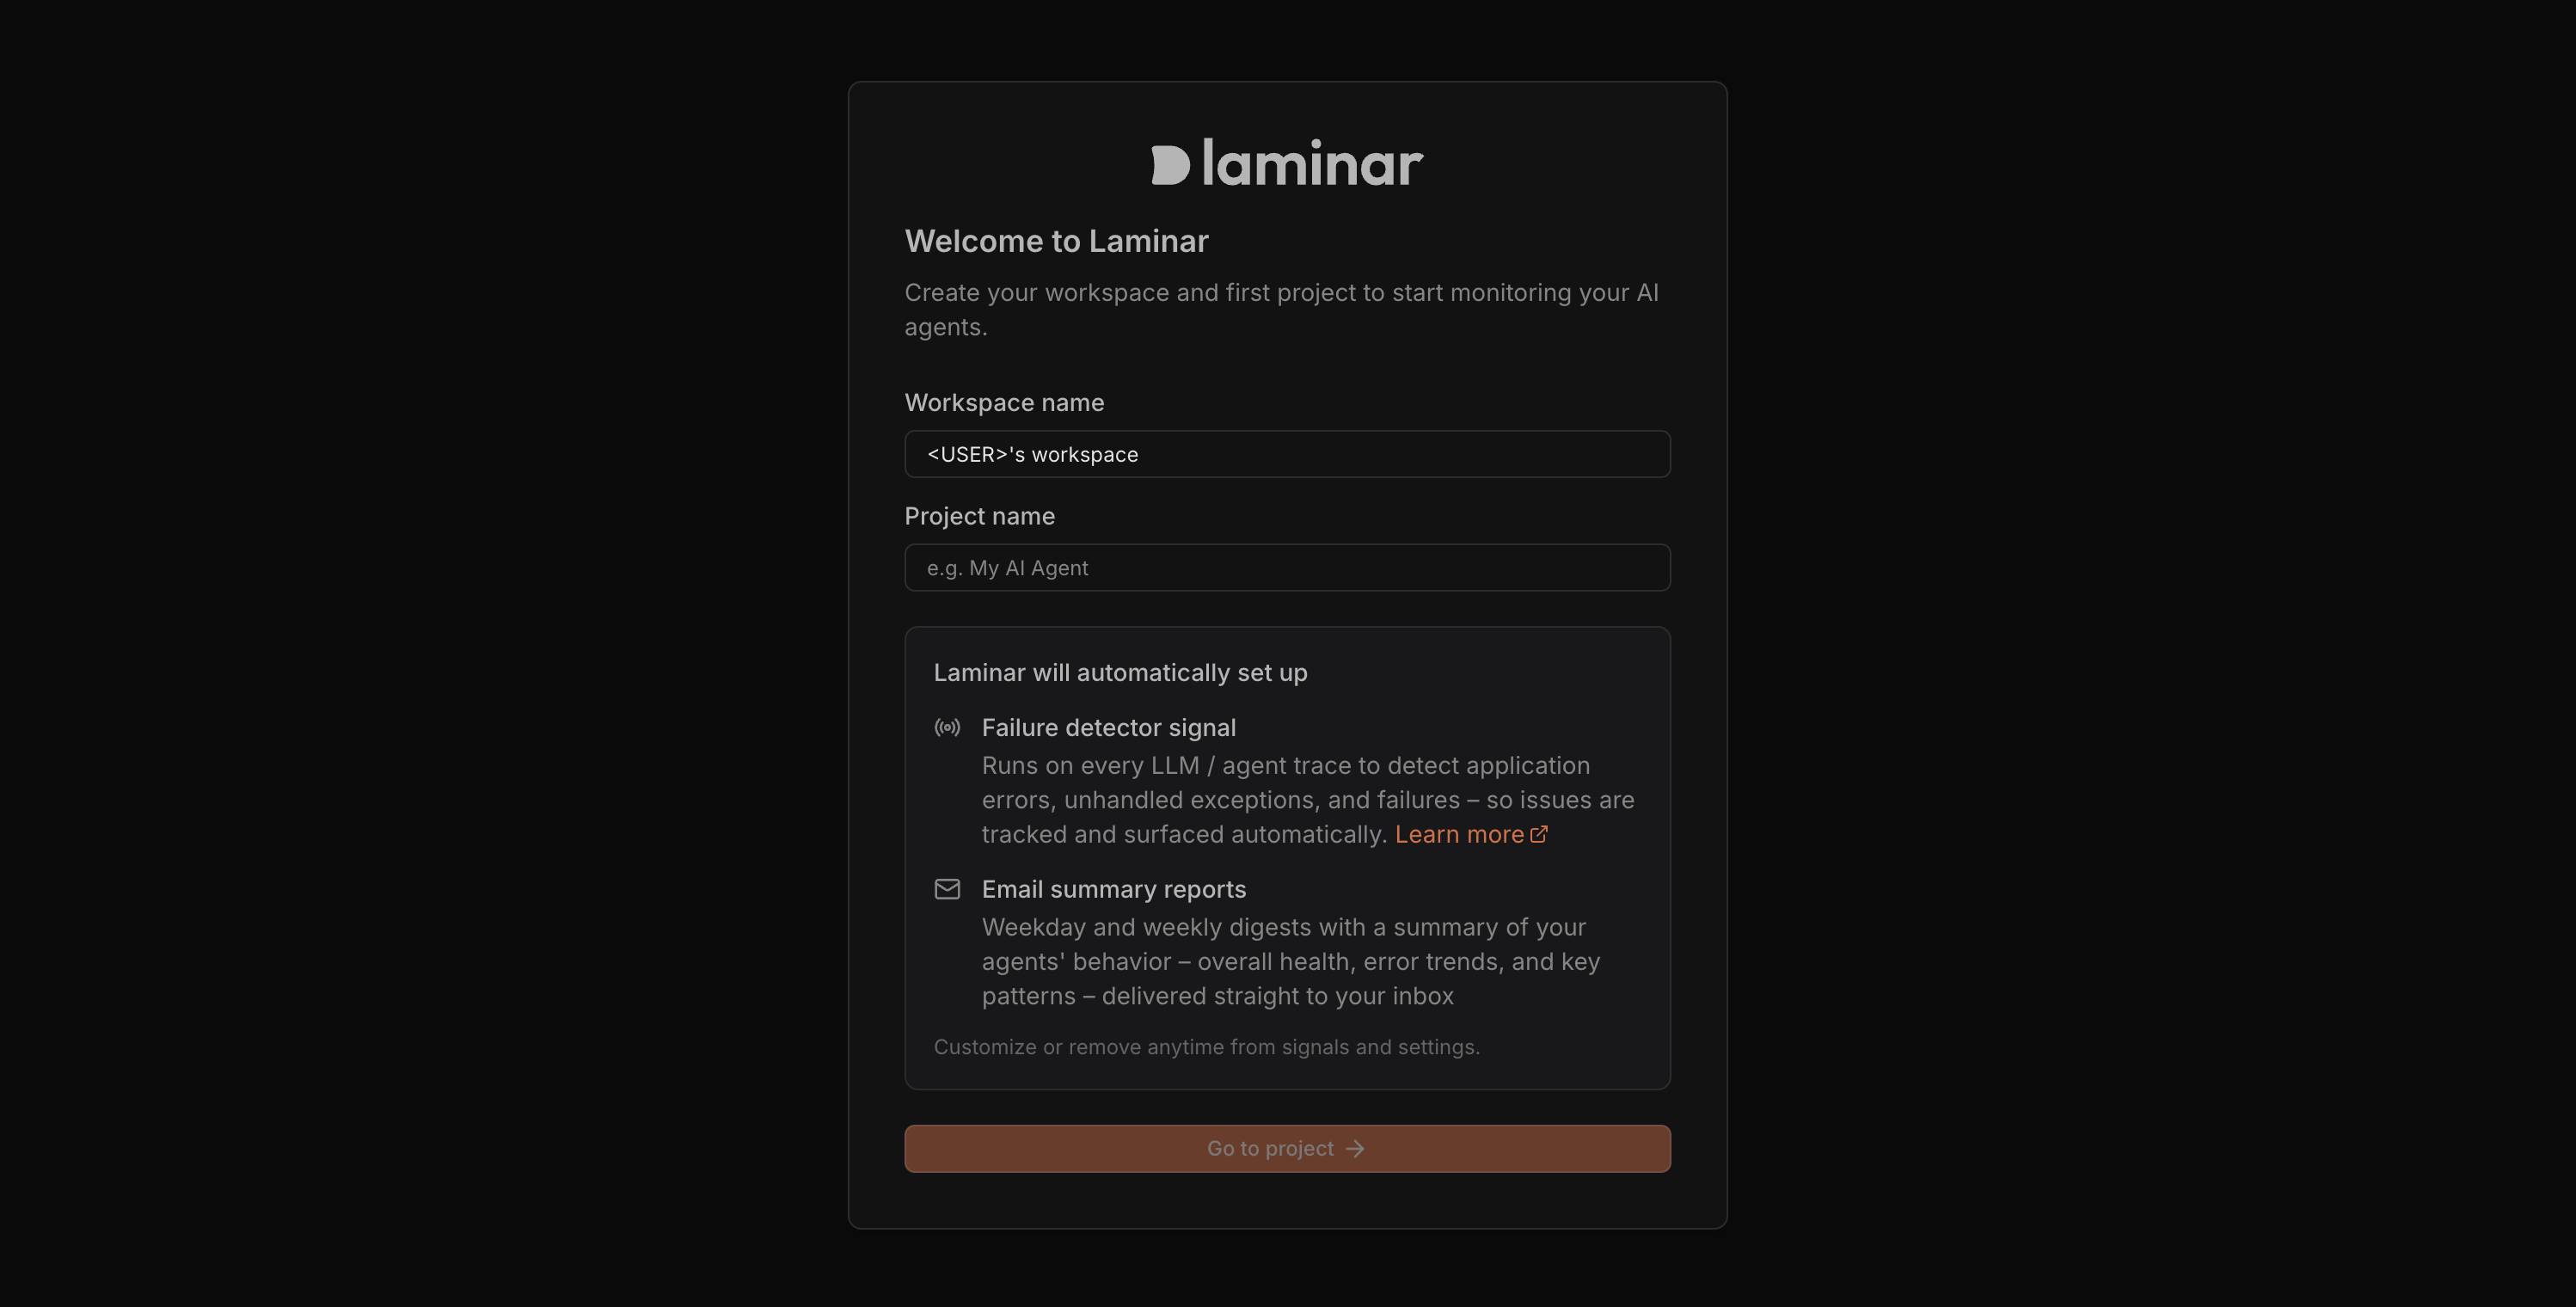
Once the deployment is Ready, navigate to https://analytics.app.<your-base-domain>
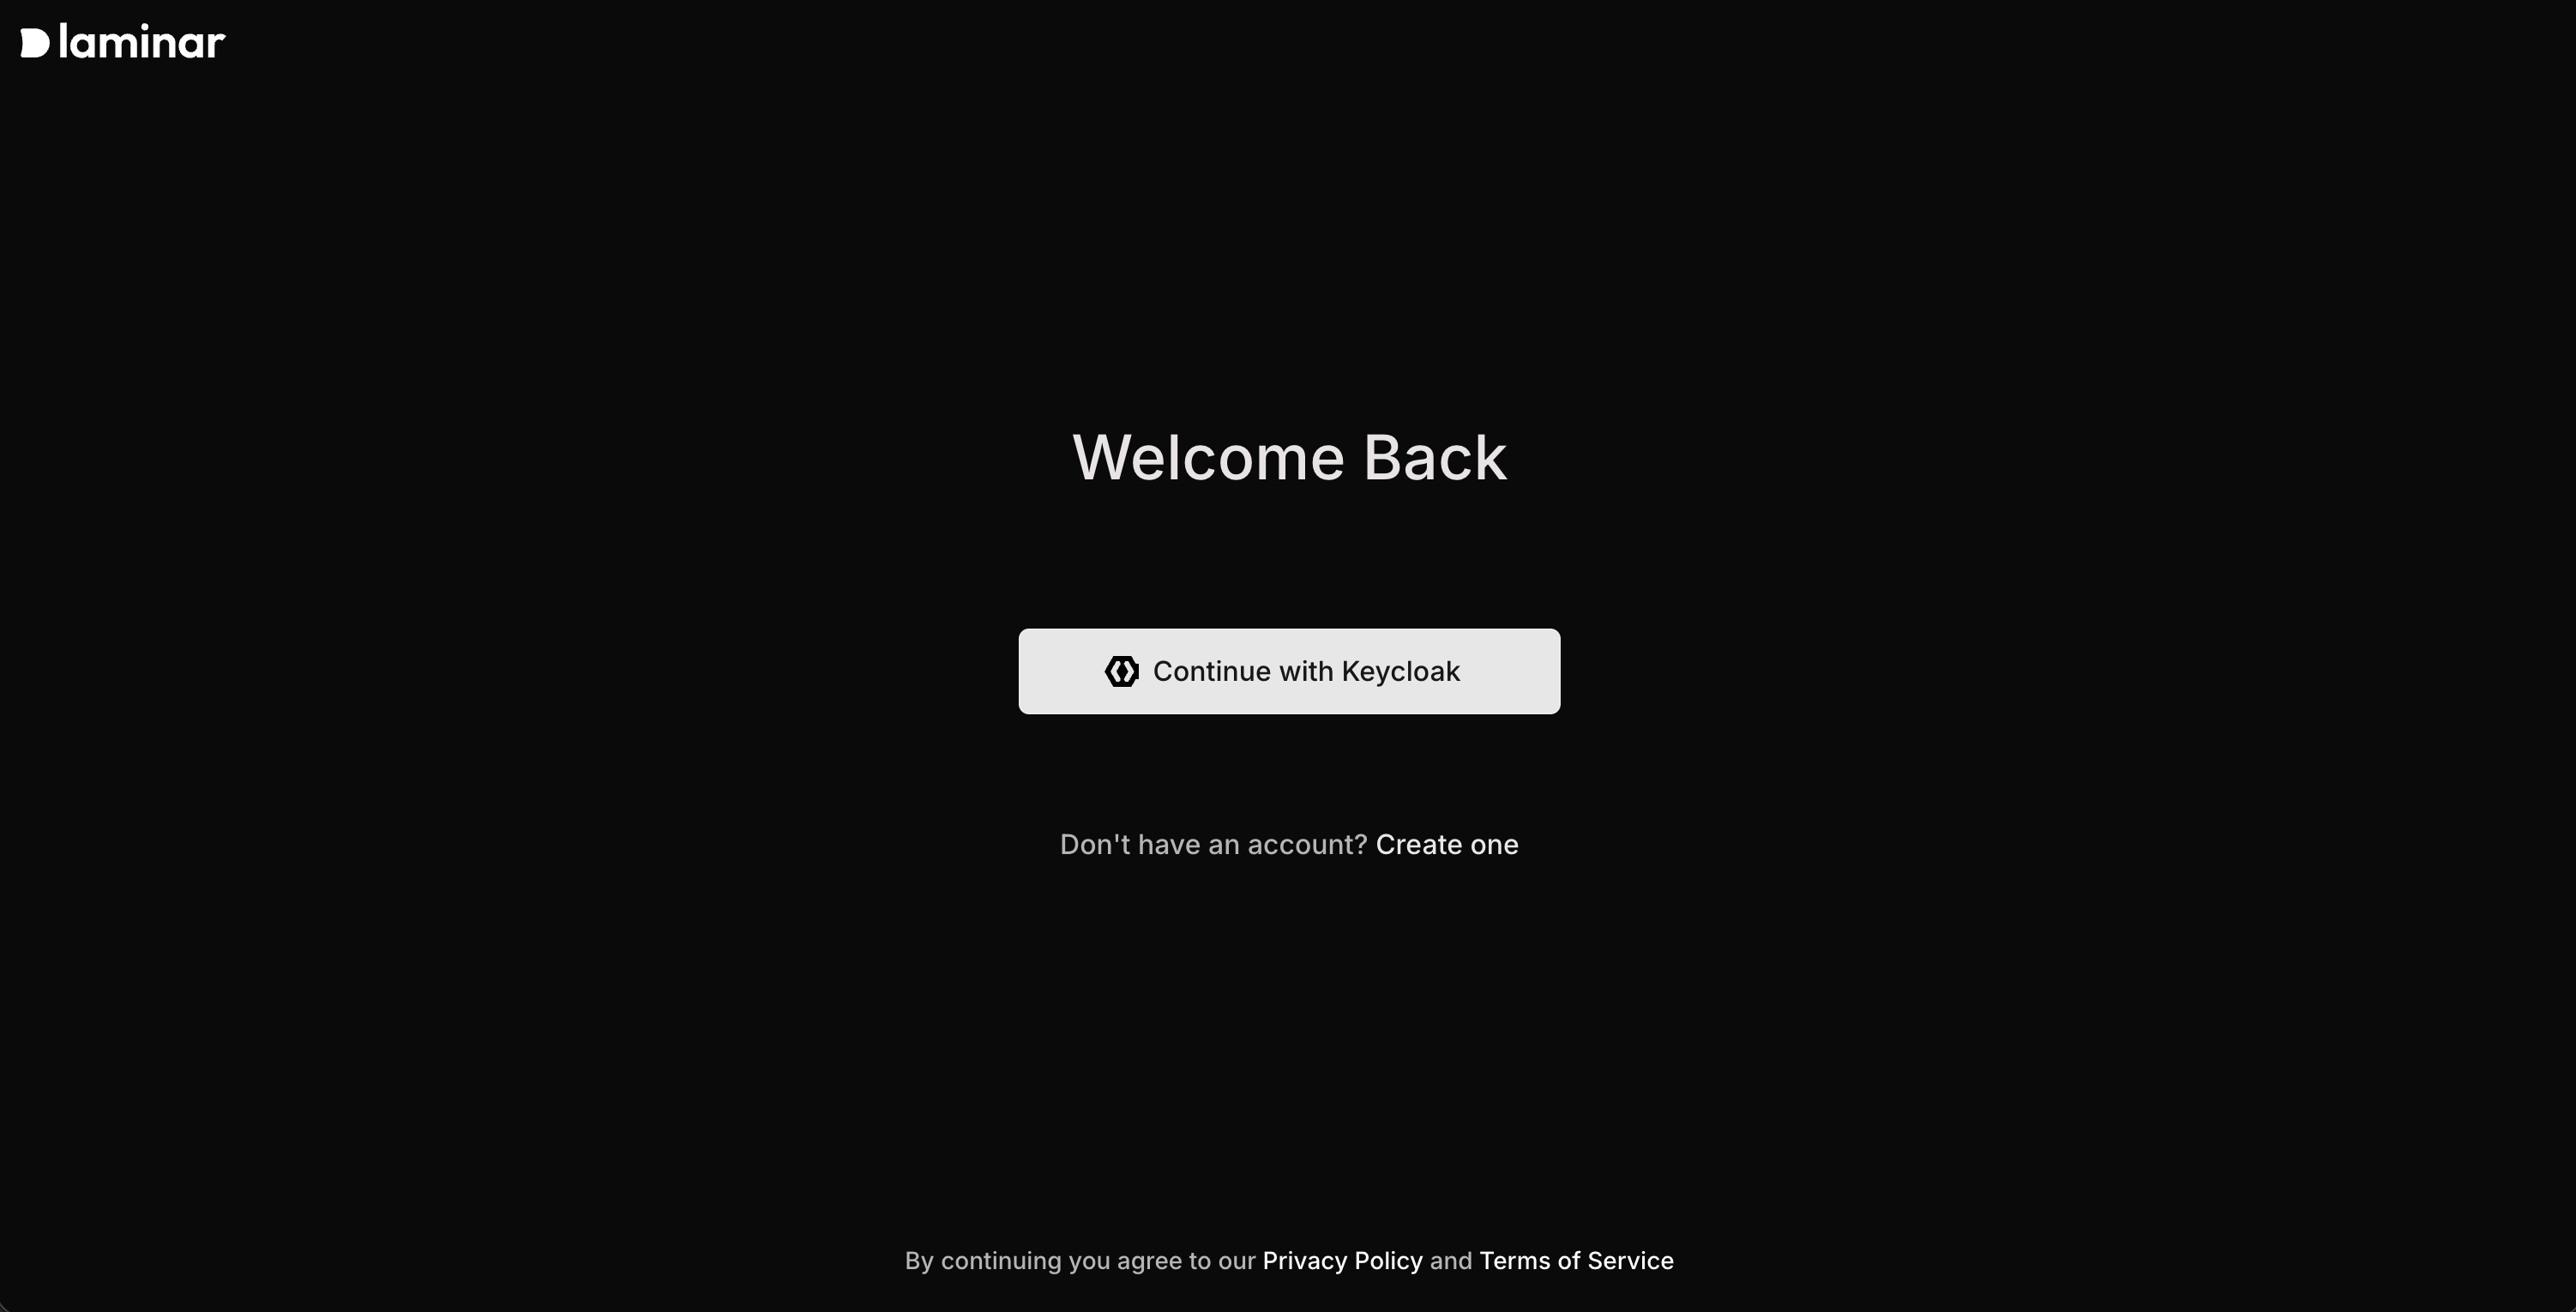
(or the laminar.frontend.ingress.hostname you configured for the Helm install).Click the Continue with Keycloak button:
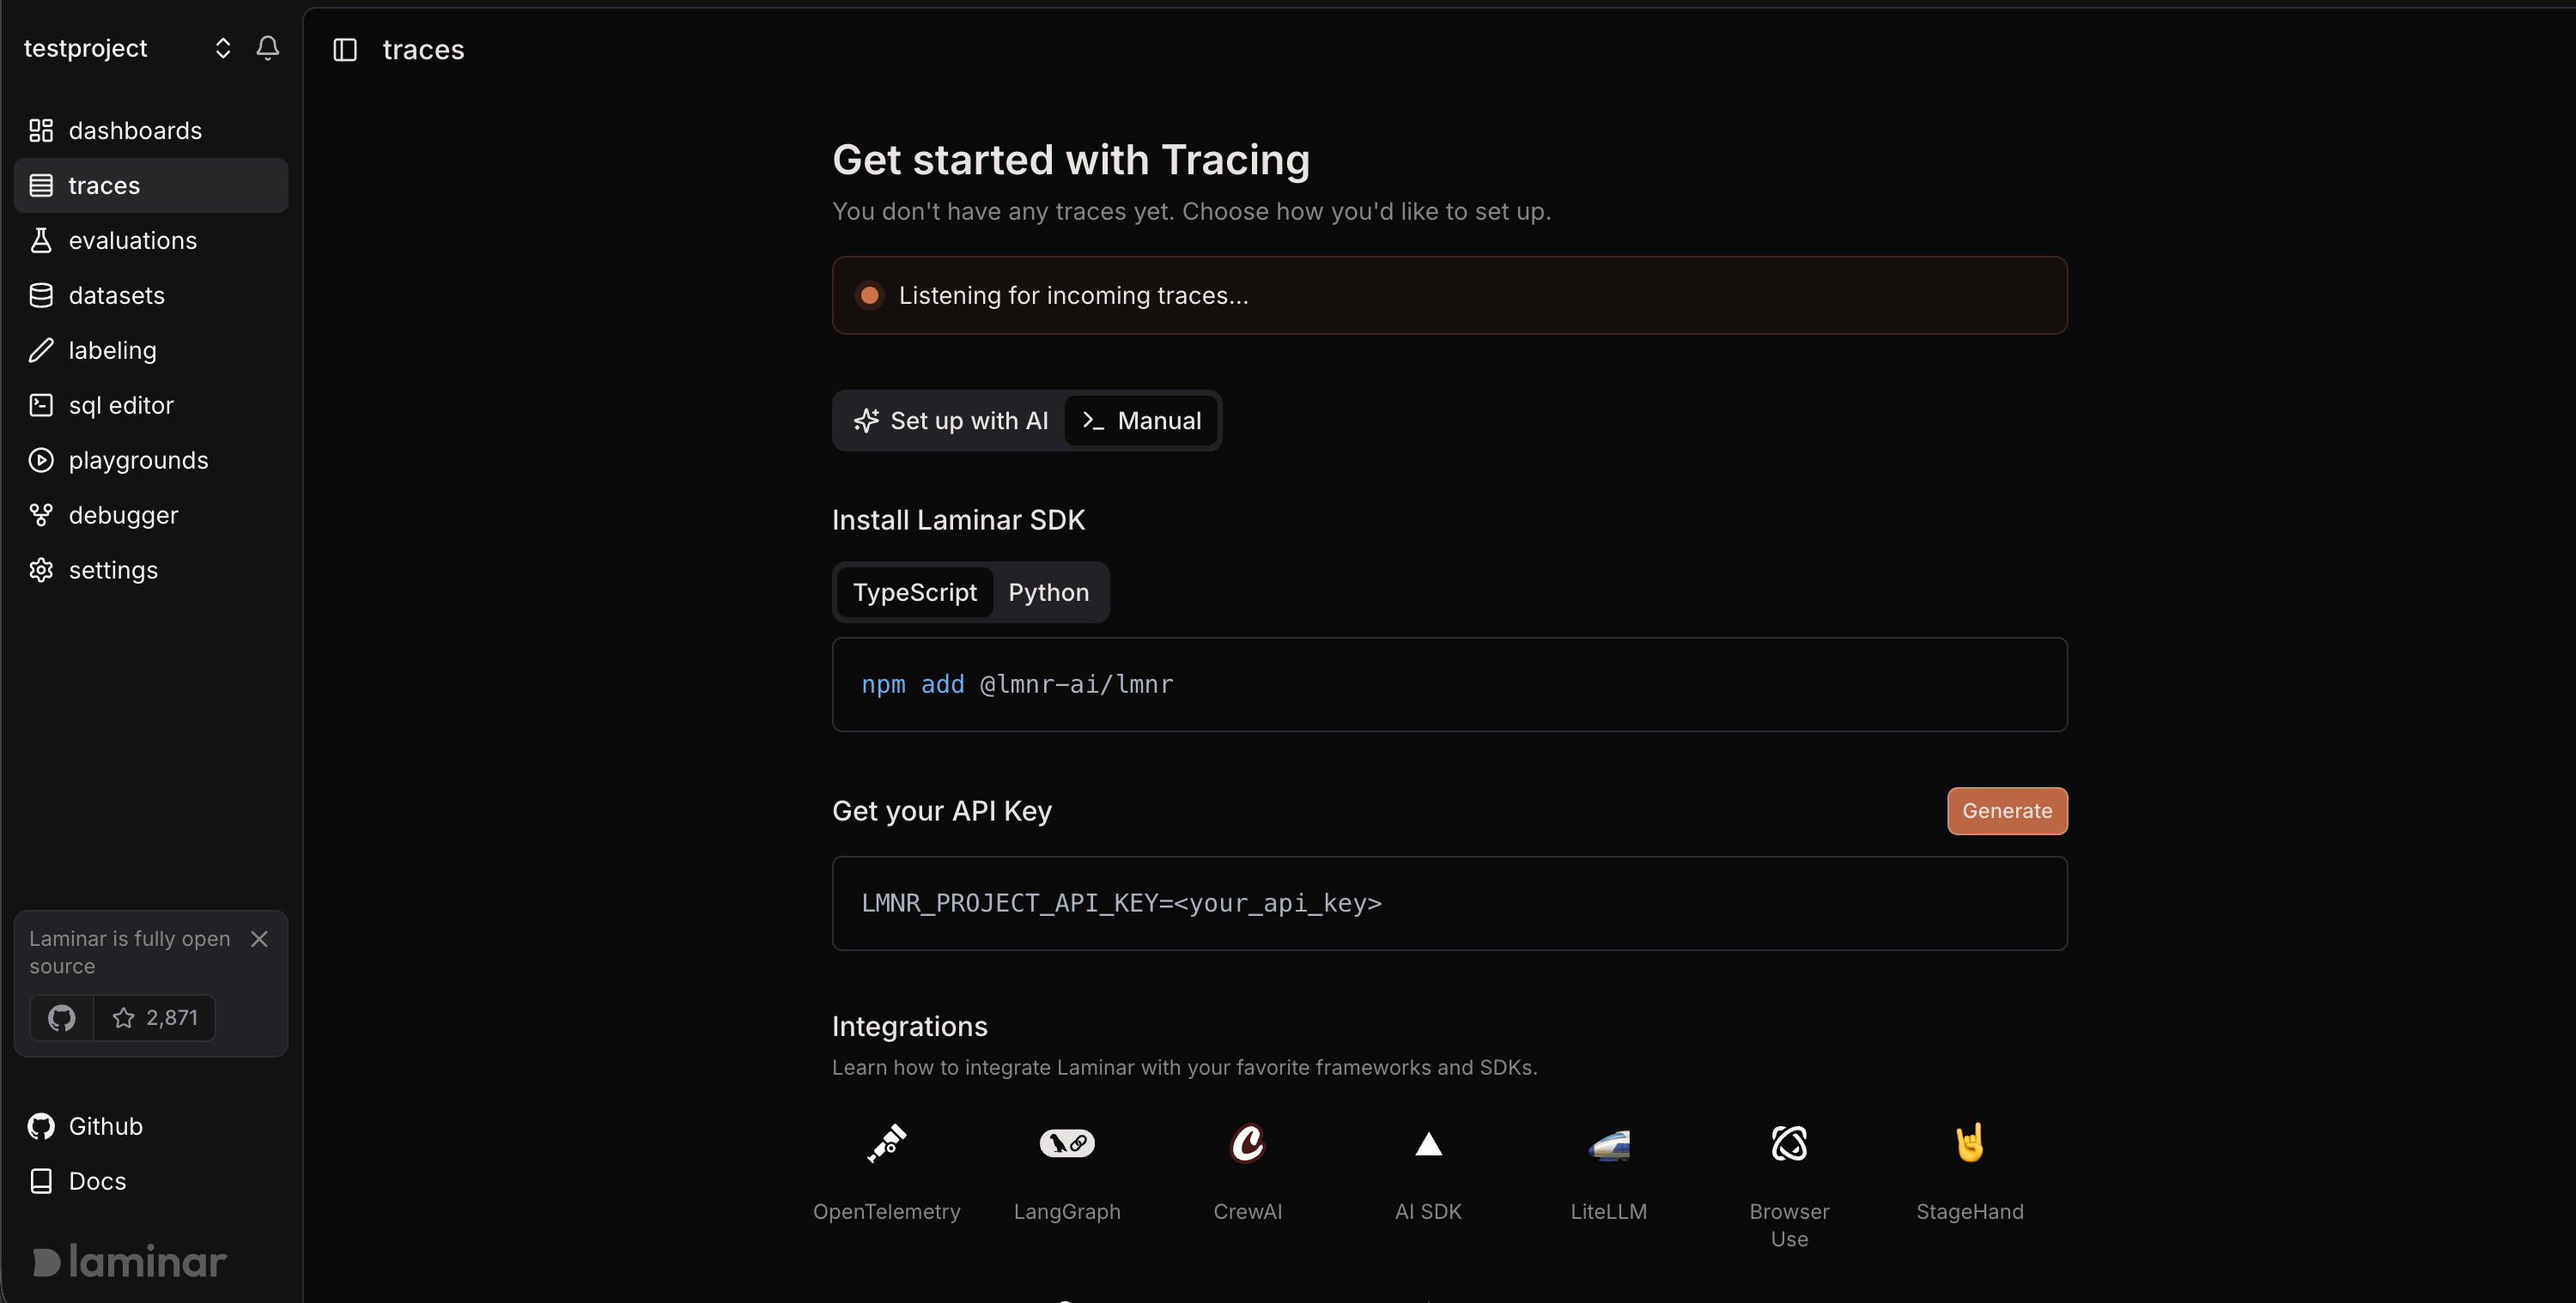
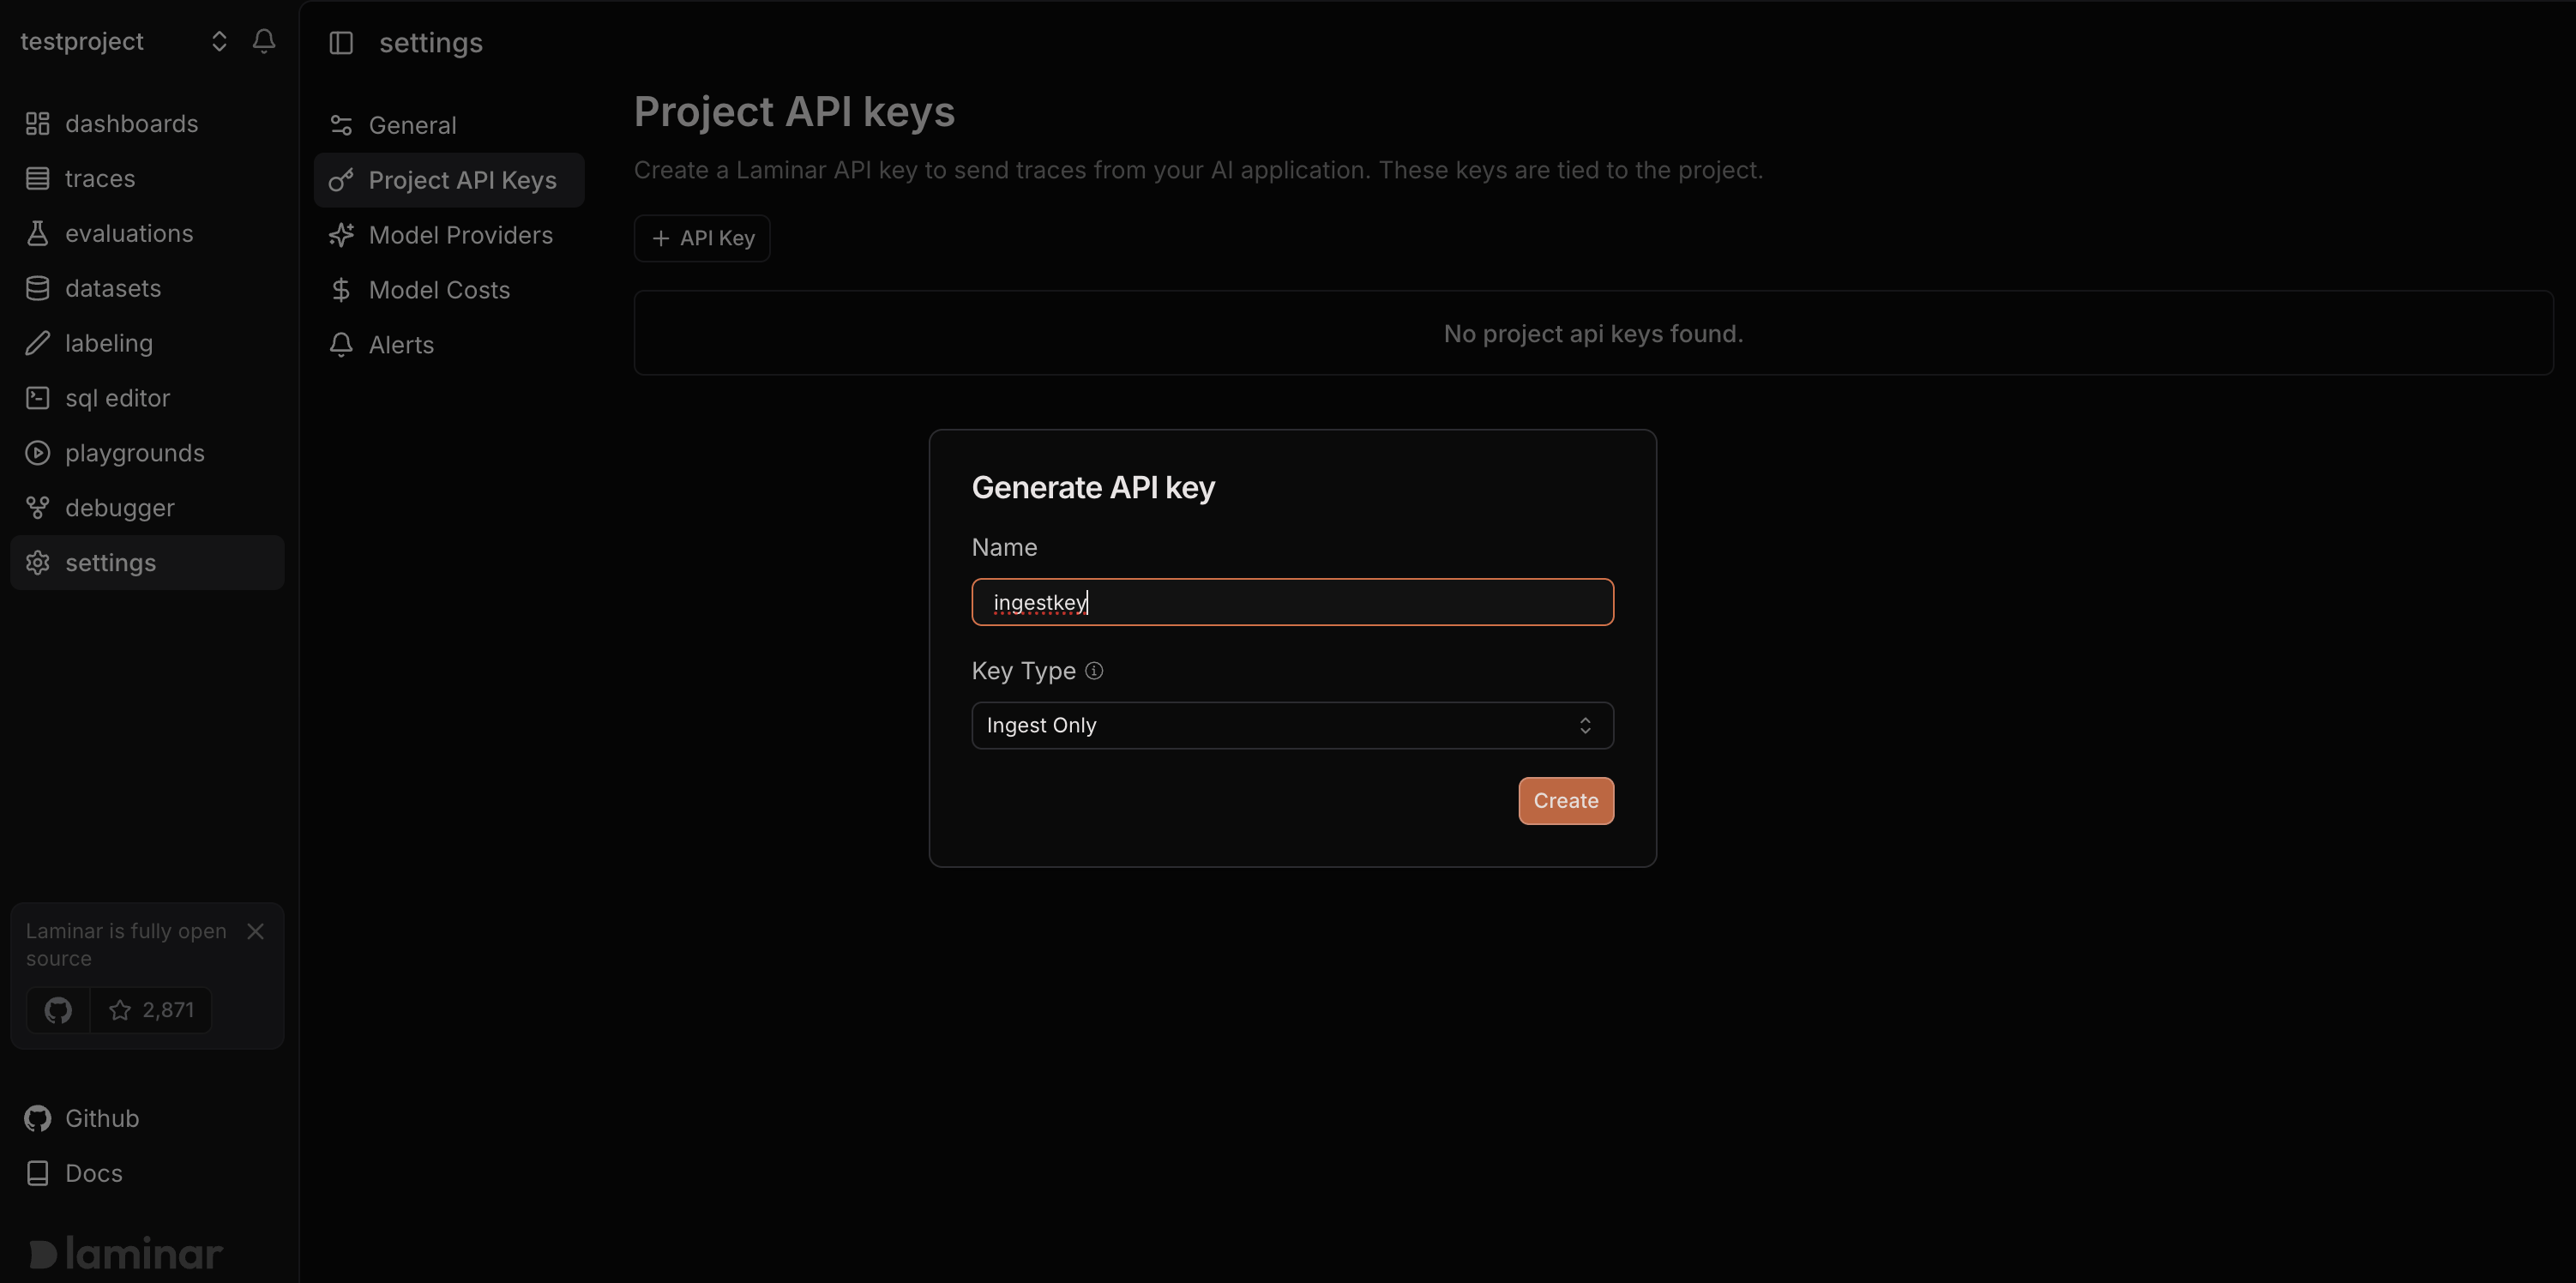
Always use ingest-only API keys for the OpenHands integration. Ingest-only keys can
only write traces — they cannot be used to read data, so they are safe to embed in
configuration.
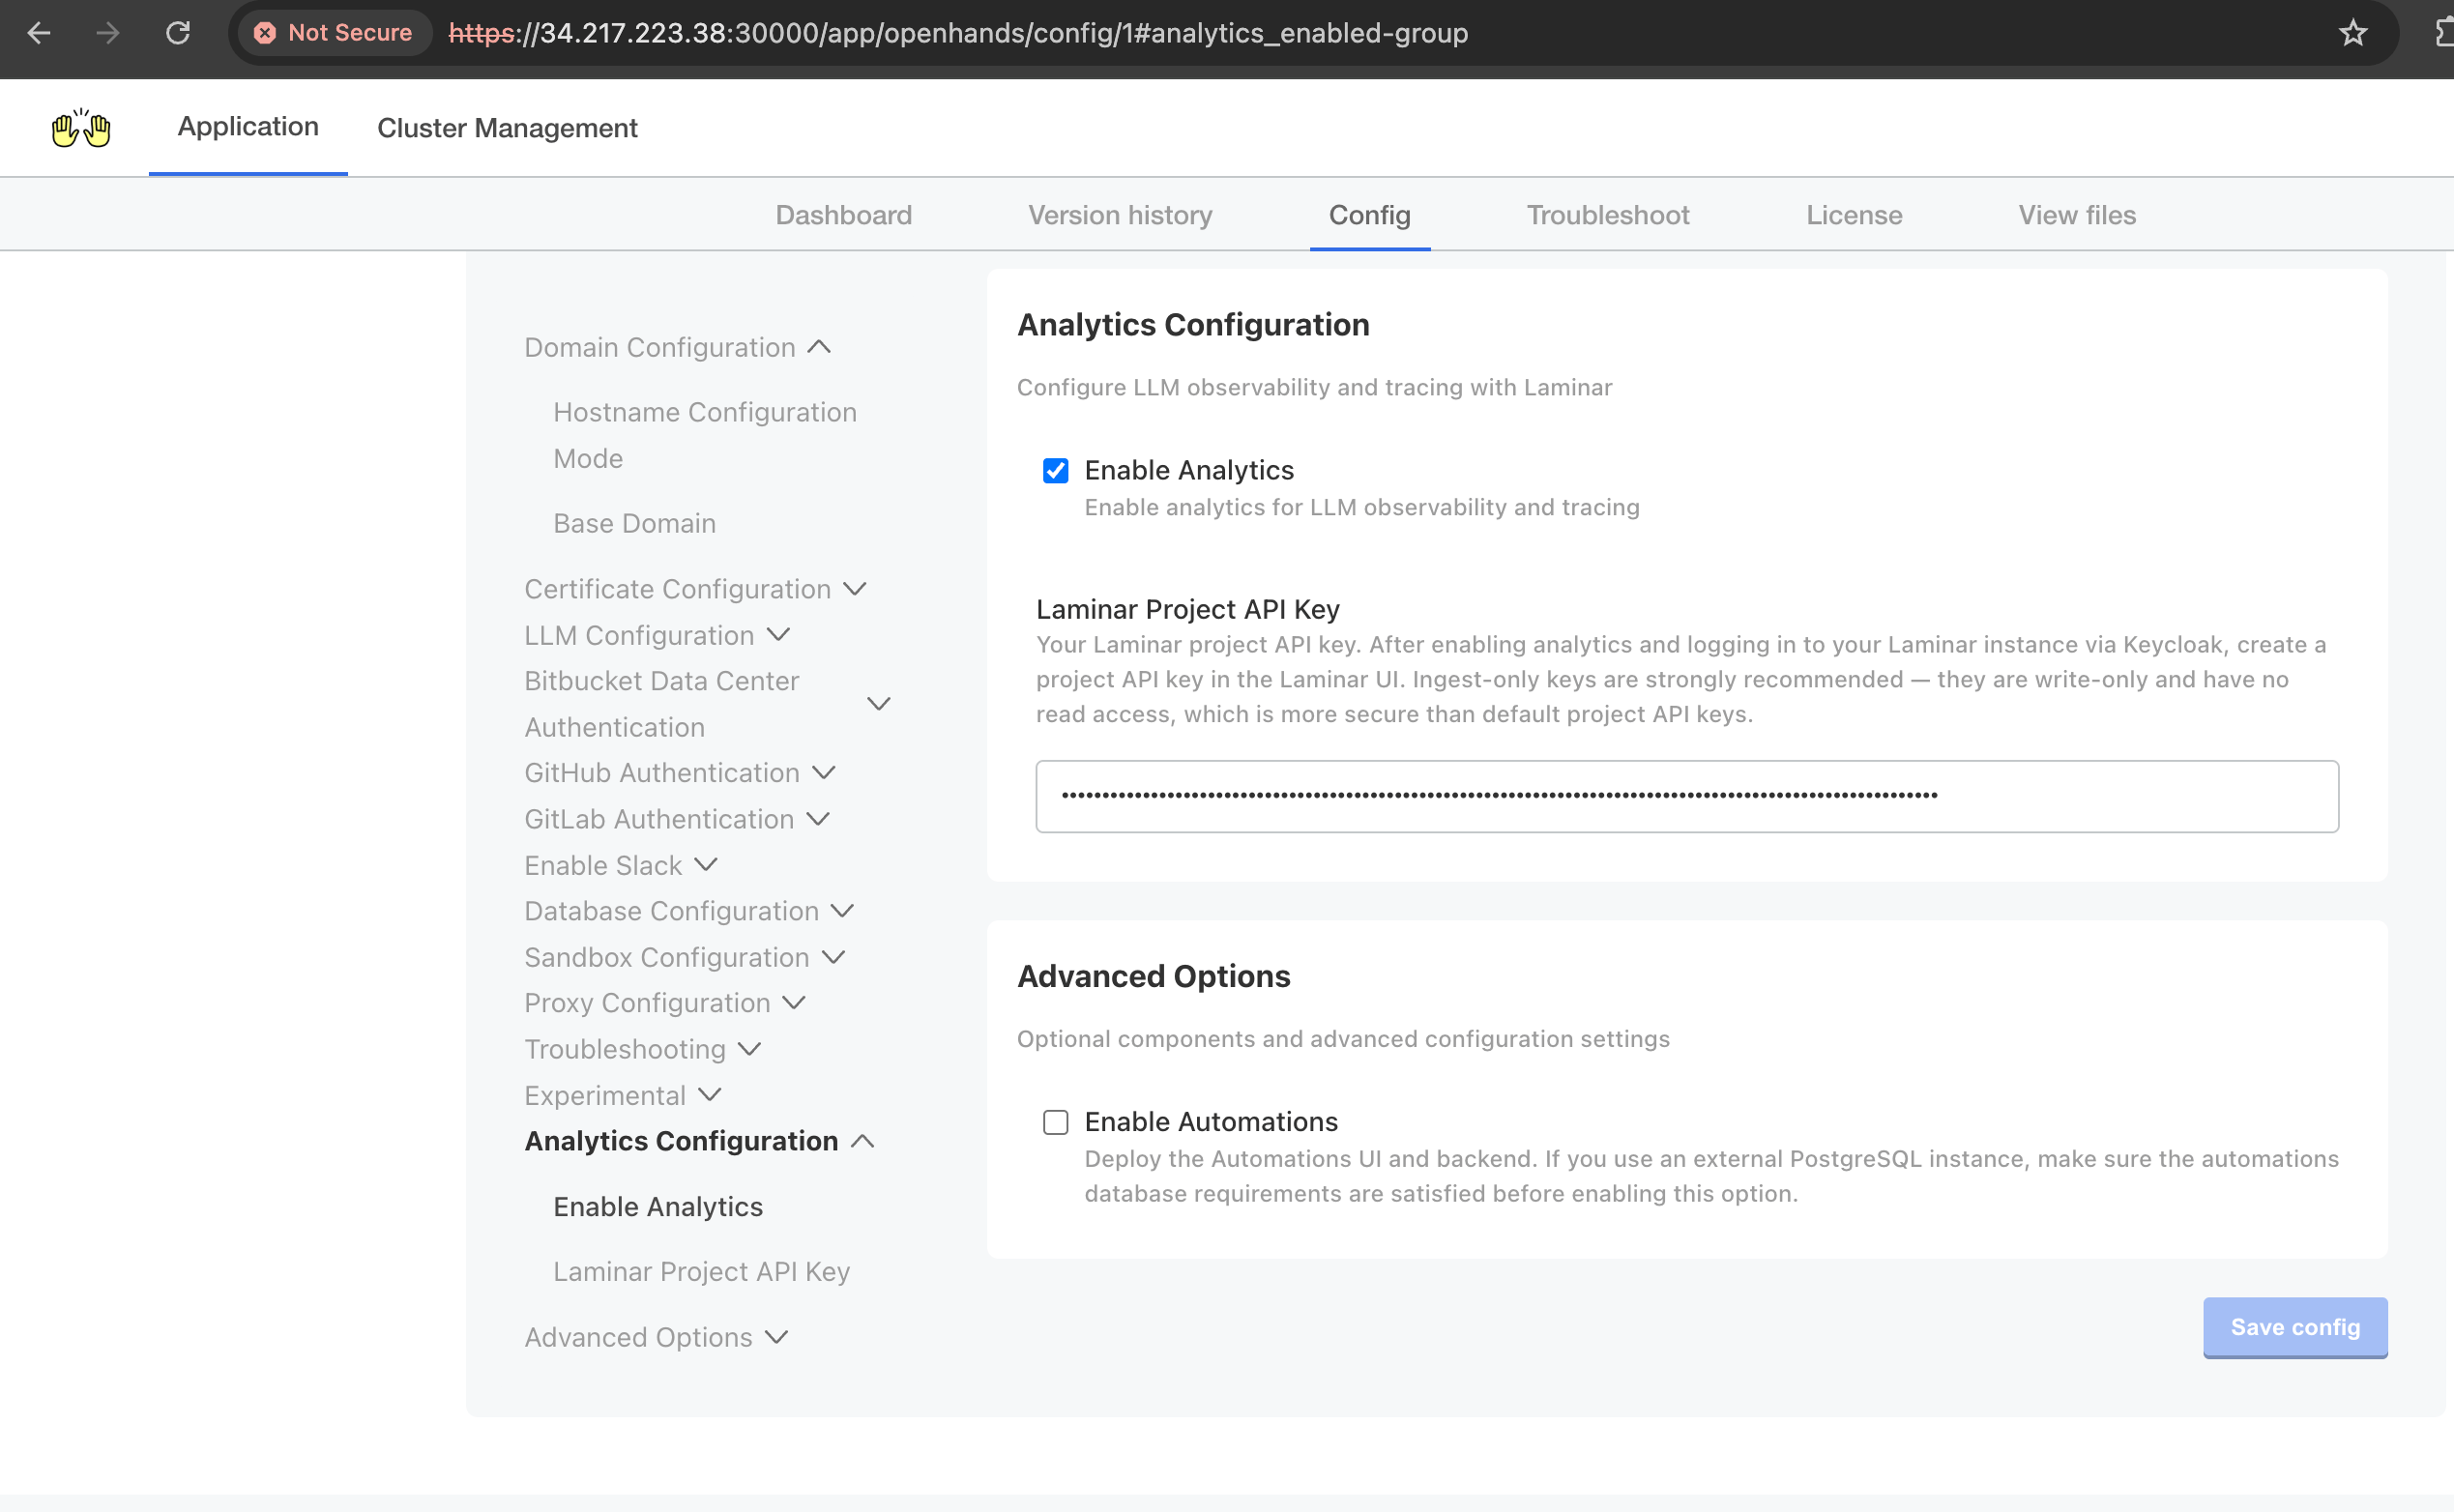
Paste the ingest-only key into the Laminar Project API Key field in the Admin Console
configuration:Click Save config, then deploy the change:Wait for the deployment to complete.
Set the ingest-only key in your site-values.yaml under the top-level env block:
For a production install, store the key in a Kubernetes Secret and reference it from
your values file or via --set-string at install time, rather than committing it to
source control.
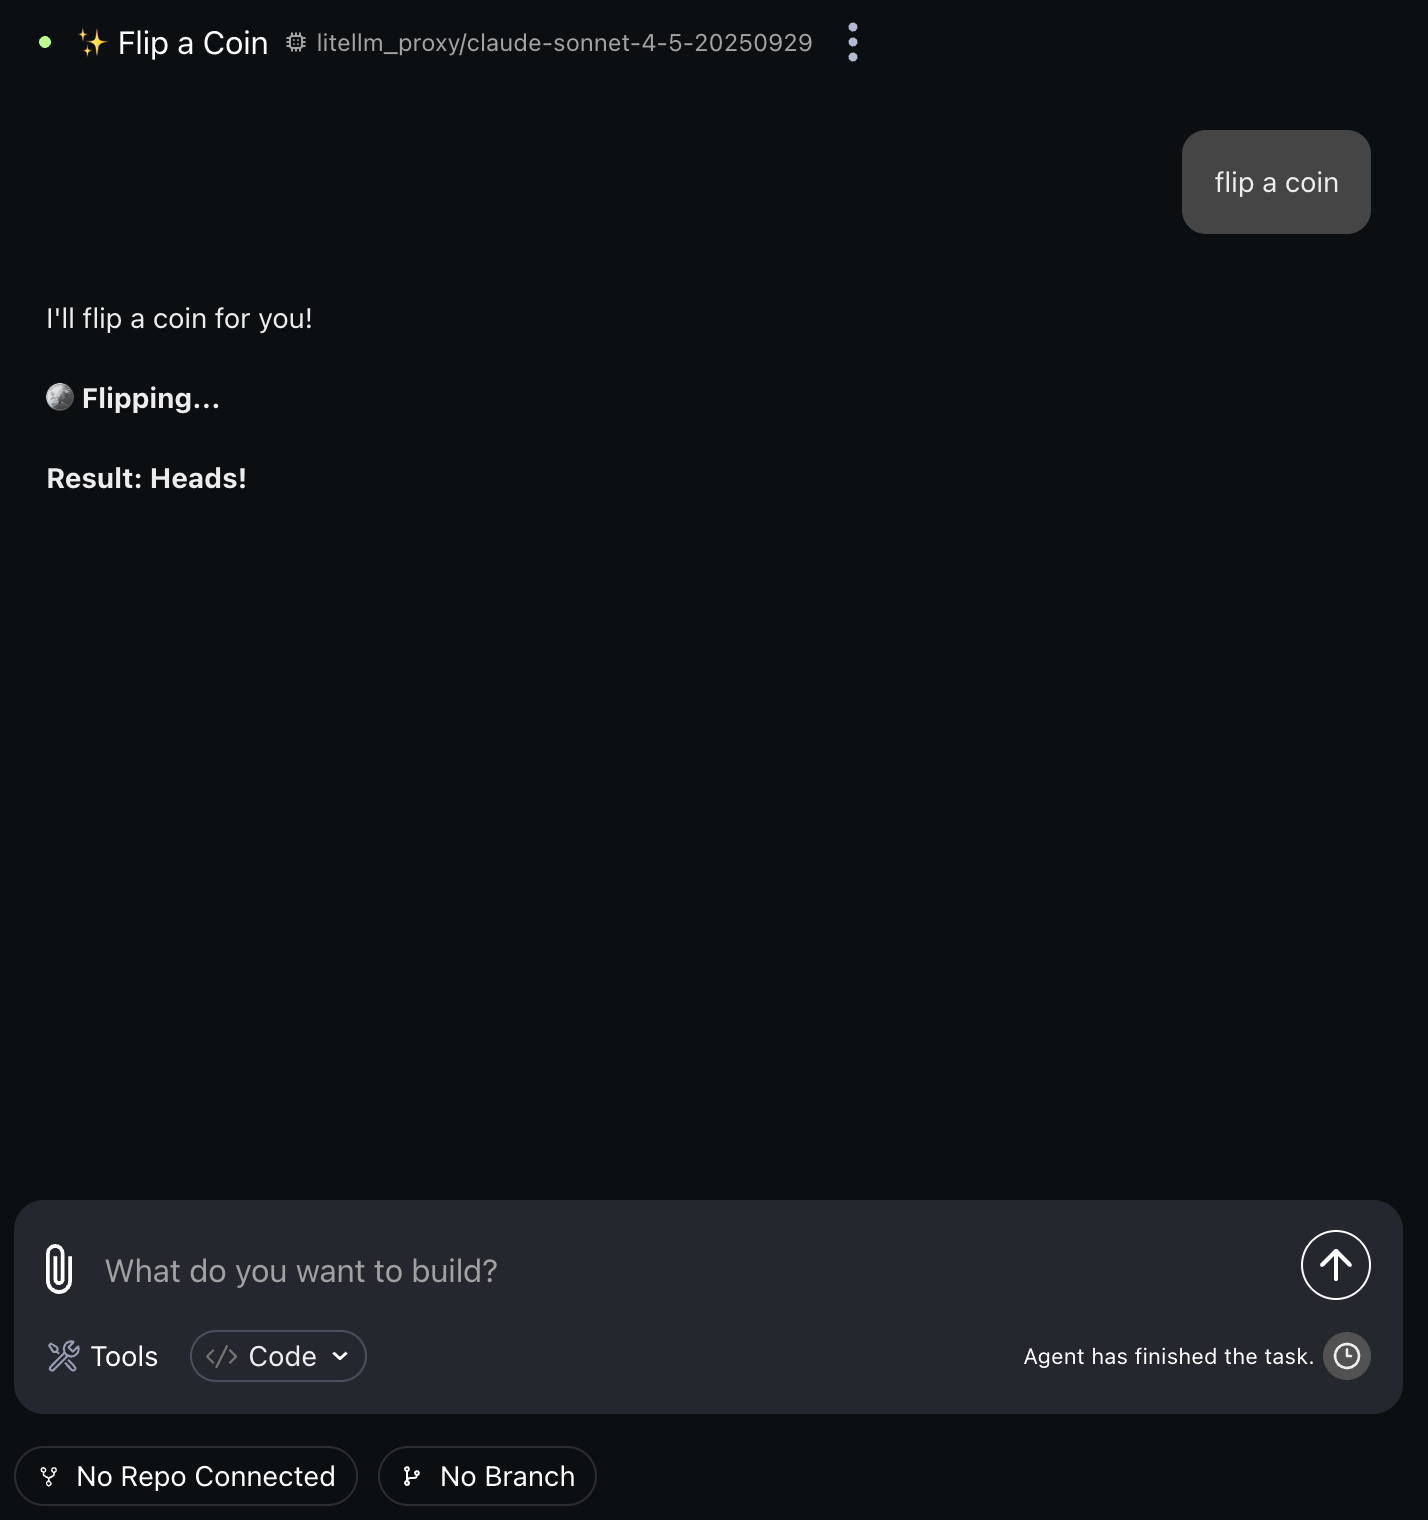
Navigate to the OpenHands UI at https://app.<your-base-domain>. Start a new conversation and try a prompt.Your conversations will now automatically send a trace to Laminar.